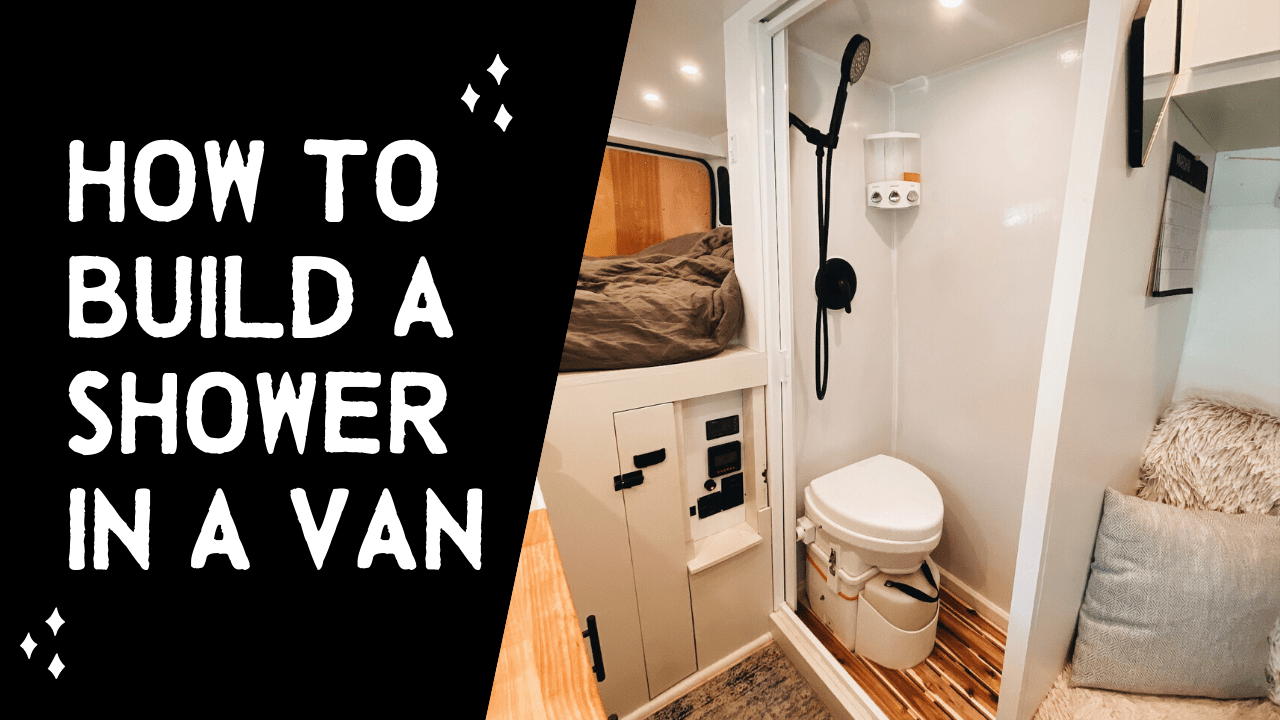
VIDEO: How to build a

basic hygiene & comfort.

When we built our DIY Ram Promaster campervan, we knew we HAD to have a full wet bath and shower with hot water. Many vanlifers are okay with an outdoor shower or a collapsable indoor shower, but that just wouldn't cut it for us. For one, we film weddings and elopements and need to look professional for events, often the day after a large hike or mountain bike ride. But also, we simply value our privacy and the ability to shower whenever we want/need to, despite the outside conditions.

Our wet bath also includes a Nature's Head composting toilet. It's the best feeling in the world to never have to worry about where to go to the bathroom next!

Watch the video first!
Full build guide below

01

02

03

04

05

06

07

08

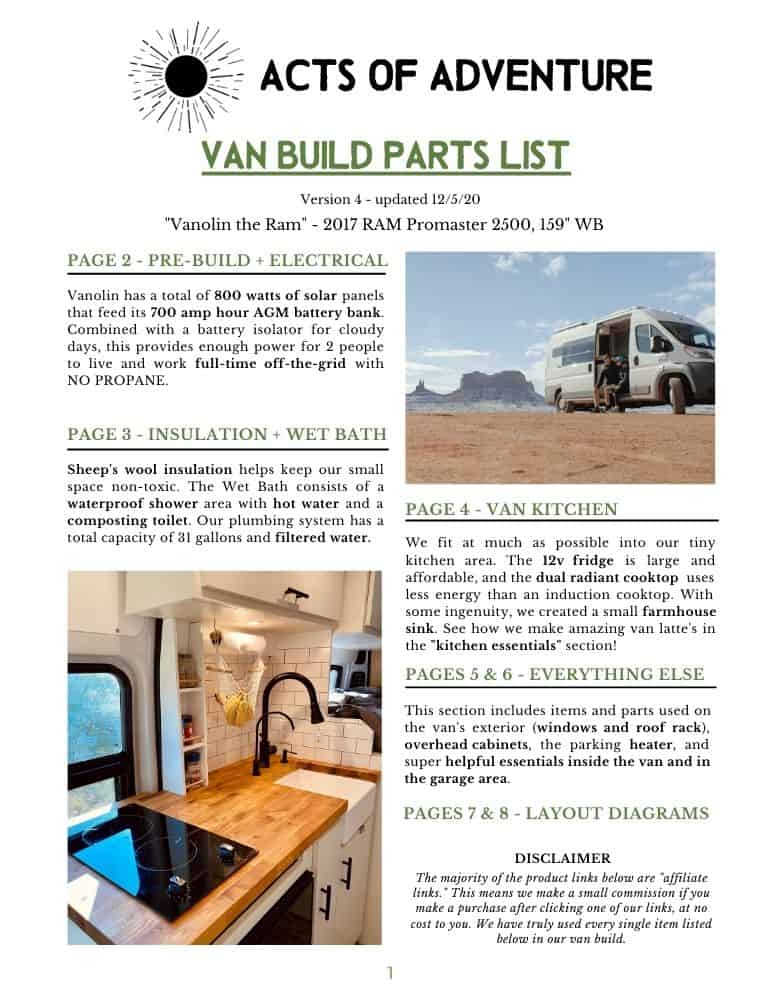
van build parts list pdf

Access links to over 100 parts we used in our van build! Plus, this PDF includes our layout dimensions and 5 things we wish we did differently after living in our van full-time for over a year. It's a FREE all-in-one van building resource!

GET IT

How to Build a Shower in a Van

It is quite the task to create a waterproof box inside a van. Of course nothing is straight in a van, so framing the shower stall took lots of scribing and approximations.

The shower stall framing is a mixture of 1×2’s along the van’s exterior wall, a framed 2×4 wall between the bed and the shower wall, and a 1/2″ plywood wall at the front. Once the stall was framed on 3 sides around the shower pan, we mounted 1/4″ plywood on the interior of the rear and side framing. The front wall is a large piece of 1/2″ plywood, so it was already flat and solid.

To make the stall waterproof, we chose to work with fiberglass reinforced plastic (FRP) panels. These panels are cut to shape with electric sheet metal shears, then adhered to the 1/4″ plywood interior walls with FRP glue. This was quite the process and definitely took 2 people to accomplish. Using FRP edging and caulk, the interior corners are waterproofed.

This series of YouTube videos about building a shower in a van was very informative for building our shower using FRP panels.

Our shower door is a Nautilus self-cleaning, retractable shower door (highly recommended!), and our urine-diverting composting toilet is a Nature’s Head. We get hot water from a 4-gallon Bosch hot water heater, which supplies enough hot water for each of us to take a quick shower. 

Scroll below to see detailed pictures of each of these build steps. Please ask questions in the comments section!

Disclaimers:
We are not professional builders. Please use our information as advice only, but consult a qualified professional if you experience difficulties with your plumbing & shower installation.

Some of the links below are “affiliate links.” This means we get a small commission if you make a purchase after clicking our links, at no cost to you. Rest assured that we actually used & personally recommend each one of these items.

how to build a shower in a van wet bath Acts of Adventure van

framing a wet bath shower in a van

The beginning of the framing

van shower framing build guide

More framing

Waterproof flashing along edges

wet bath shower in a van

Plywood walls up

plumbing + electrical roughed in

FRP van shower wet bath build guide

Cut FRP to fit, apply FRP adhesive,

then press FRP onto plywood walls

van shower FRP board caulking shower pan

FRP installed and caulked

Use FRP edging for clean corners

how to build a shower in a van wet bath video

FRP installed and caulked

Extra FRP and caulk added around frame member (top left)

shower in a promaster van

Finished FRP

Fixtures installed

Bosch 4 gal hot water heater in a van

Bosch 4gal hot water heater

Filter installed before water heater

rubber grommet for natures head toilet in van shower through FRP wall

Toilet vented through back wall, then van floor

Rubber grommet keeps it waterproof

Wood shower mat around natures head toilet in a van

Wood mat contoured around toilet

how to build a shower in a ram promaster campervan

Finished interior

Nautilus shower door + soap dispenser

how to build a wet bath shower in a van

Connor is 6' tall and just barely fits

wet bath shower natures head toilet in a van

Our finished wet bath!

14 14

VAN SHOWER BUILD INFO, TIPS & TRICKS

We highly recommend getting this water system diagram from FarOutRide.com. It helped us learn how to install plumbing a van and helped us design our entire water system.
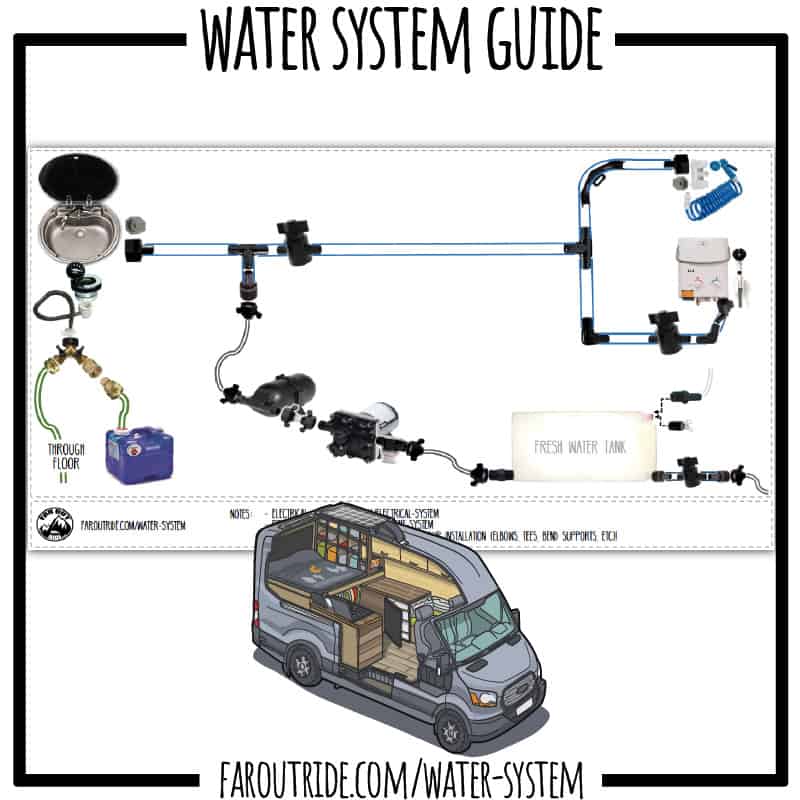
faroutride water system guide diagram how to install plumbing in a van

Also, as you can see in photo 13 above, Connor is 6′ tall and barely fits – this is with a 1.5″ thick wooden bath mat. You must duck to fit under the shower head anyway, so it’s not essential to be able to stand up fully.

We each take showers every 3 days on average. Our 27 gallon water capacity lasts us about 6 days total, including 2 hot showers each.

We used 1/2″ PEX pipes and crimp rings for our water system.
This PEX kit has everything you need!

We use this single-stage water filter before the hot water heater to help keep it clean. This is separate from our 3-stage drinking water filter under the sink.

Nature’s Head Toilet Review

While we are definitely glad to have a composting toilet instead of a chemical toilet, we think it’s pretty outrageous to pay $960 for essentially a piece of plastic. Now, the Nature’s Head works very well, and we would recommend it for anyone who can afford it, but here are our qualms:

  1. You have to expose the solid waste bin when emptying the liquid container. This immediately fills the van with a musty compost odor.
  2. The liquid container lasts us 2 days at most before needing to be dumped.
  3. The solids container lasts us 10-20 days on average. We have to store peat moss in 1-gallon Ziploc bags to be able to change it on the road. This takes up a lot of space. It takes 3 gallons of peat moss per change, every 2 weeks. At that time, we have to find a suitable place to dump a garbage bag full of our compost waste.
  4. Sitting on the Nature’s Head puts our legs to sleep. Whether male or female, you have to sit every time you use it. This is why we added the wooden bath mat to bump up our feet by 1.5″ and reduce the strain on our thighs when seated.
  5. Our compost always seems to mold after 2 weeks, even when we turn it daily. I believe our hose outlet is too long and makes too many bends, so the airflow is not adequate.

For another composting toilet option that addresses many of these problems we have with the Nature’s Head, check out the Airhead Composting Toilet.

Our Shower Build Mistakes

Our first drain hole hit a framing member under the van! If you stick a standard 24″-wide RV shower pan at the edge of a Promaster, your drain hole will align directly over a fore-aft support beam underneath the van. We found this out the hard way by actually starting to drill in this location. To get around this, we added two 90-degree bends in the drain, so that the drain would come out in an empty cavity under the van. We used this shallow 90-degree drain, braided hose, and another 90-degree elbow pipe that goes out through the van floor into an empty cavity.

Second problem: a metal ceiling rib sticks out into the shower stall where the ceiling meets the wall. We tried our best to add thicker wood framing to the van wall to bump it past this metal rib, but it would have moved the shower pan a full 2″ away from the wall. To save 2″ of aisle space, we just FRP’d and caulked around the little piece of the metal frame that extends into the shower stall, which worked out very well. See the close-up picture of the upper corners.

Third, the wooden shower mat punctured our plastic shower pan after about 6 months of use! This was due to the small feet of the shower mat applying focused pressure along the edges of the shower pan. Essentially, the mat’s feet are too small and too close to the edge of the pan. We solved this problem by adding more feet to the shower mat and moving the feet more inboard, away from the edges of the shower pan. We fixed the holes in the shower pan with JB WaterWeld, which thankfully worked like a charm.

Thanks For Reading!

We wish you the best of luck building a shower in your van. If you have any questions about how to build a DIY wet bath / shower in a van, feel free to ask us in the comments.


If you’ve found our van building resources helpful, we would greatly appreciate your support!

Donate Here

interactive electrical wiring diagram

GET IT

See exactly how our 800 watt solar system powers our 700ah batteries and all of our 120v and 12v appliances. Each wire and each picture links to the exact item used.

Acts of Adventure van ram promaster campervan conversion vanlife blog video moab utah

VIEW MORE